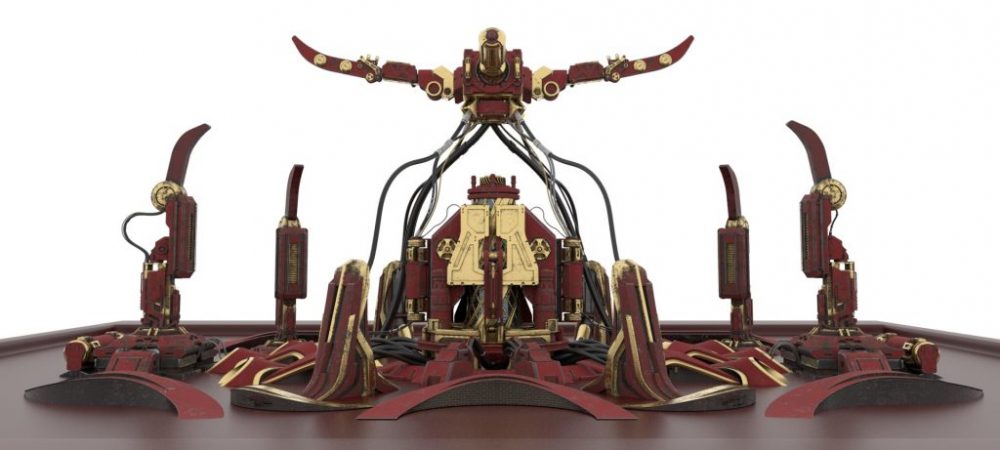
In week 4, I have to reshoot some of my scenes again because when I start editing and combine them into a sequence, some of the shooting will cause some problems for VFX editing. However, I booked the green-screen room and the Blackmagic Pocket 4K camera to shoot my green screen part, so I use this chance to reshoot some “issued scenes” and start to shoot the green-screen part as well.
As the following video shows, I have selected and combined the footage I choose into a sequence after shooting. During selecting footage, I consider the camera rolling, screen connection, and clearly to tell my story.
For the next step, I will focus on post-editing and rendering in week 5, I have watched some VFX effect tutorials which I want to use in my project, and I’m trying to finish it in week 5.
For this week’s modeling, I have borrowed a 360 camera and took a picture of the shooting place this week, as the pictures show:


After I applied this HDRI image to my skydome image, the lighting looks more similar to the shooting place, but I need to add some area lights to let the left side brighter.

The following picture is the final scene of the modeling and lighting setup, I created a mirror texture for the background and it can reflect the object and make the scene looks larger and more sci-fi:

For texturing of my cube, I want to make it more contrast to the environment because my scene is very plain, so my cube will be looked more colorful. As the image shows, I changed some values of the transmission and roughness.


For the next step, I will calculate the time of each CG animation and set up the camera and 3D track from Nuke.
