For the mech model, I assembled the two robotic looks by way of KItBash. Afterward, the redundant internal structure was deleted to try to ensure that the model would not be worn out when the bones were bound later.
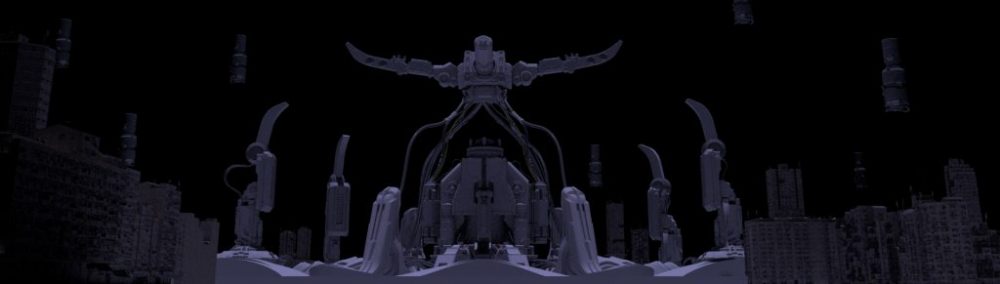
The image below shows my first mech model, which I started with a normal Arnold material for ease of viewing and display.
For the binding of the mech, I first dressed the pieces with a few circles for better handling and animation later. After that, I corrected and zeroed the positions and movements of the mechs and froze the transformed models. I did bone bindings and skinning for each leg of the mech. Finally, I rotated and moved each key to make sure there were no errors.
After all the binding was done, I created a simple motion animation of my model to make sure that all the movements that were going to appear in the scene looked smooth and correct.
I’m using the same method to rigging and skin my second-standing mech robot.
Because the body structure of this mech is simpler than the first one, it takes less time to bind.
In the animation that follows, I will make the upper part of the mecha robot do some movements to enrich the realism.
The most difficult part of this binding, I think, was the correct creation and addition of the skeletal joints. For the first mech, it took me three to four attempts of bone binding to finally match the mech exactly as it has a lot of movable joints in the legs, and it will also be a challenge in terms of movement as its walking style mimics more the walking habits of a spider or crab.