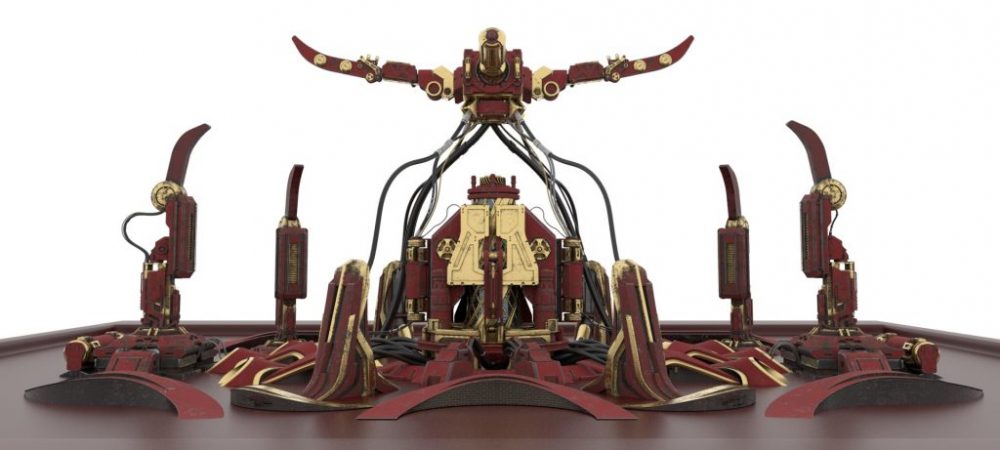
In the last week, I have split my model machine’s UV, so this week, I use the Substance Painter to put some textures on it. Before that, I was trying to use the Key Shot for some simple color textures to see the whole effect. Although the texture is not quite well, I am satisfied with these colors.

Texturing in the Substance Painter is a very interesting and happy thing for me because I will feel a sense of achievement after I finish all textures. I do my best to restore all textures from the reference image, and also, to make my machine looks old, I have put some scratch and rust effects on it. The following image is the first try of my model texturing in the Substance Painter.

I am satisfied with these textures, so I export them and assign these textures on my model in Maya very quickly to see how’s going in Arnold Render. As the following image shows, the front gold material looks very dark and the roughness is very high, not like the effect in the Substance Painter, I have changed the IOR value in the specular menu and ticked off flip R and G Channel in Arnold, but it still looks very rough. So I have expanded this part’s UV and exported it again, I want to try another material on it.

After putting new material on it and trying again, it looks much better. So for the next step, I want to put some more details on my model. I have realized that can put some more details on the clocks on the right side.

I have to redo the UV mapping of the clock so that I can put more details on it. After that, I export them into the Substance Painter for new textures. For dial design, I have created a new cylinder and deleted all the faces except the top one, and I put a dial image on it after expanding UV.


And for the next step, I want to put some different lights and Hdri images and see those effects on my textures.

