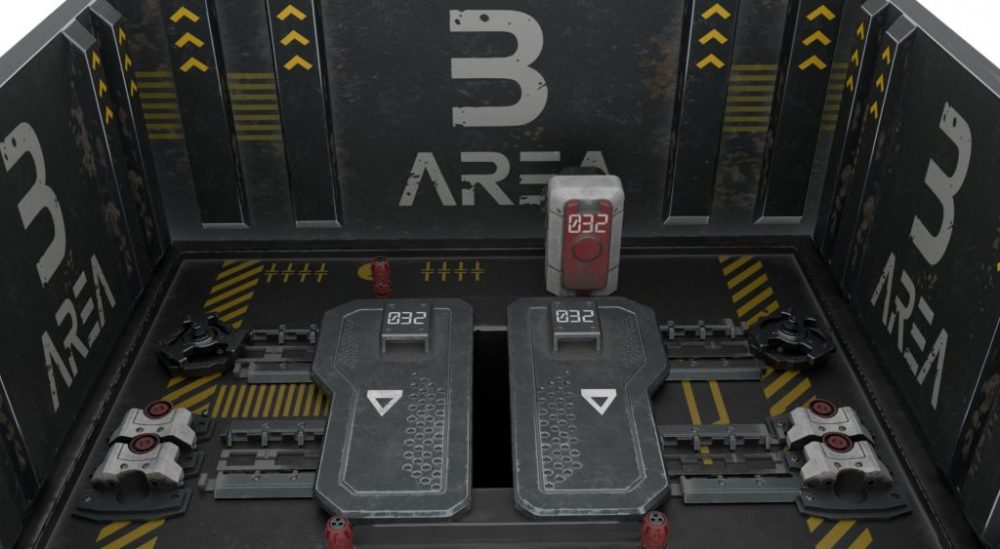
In this week, I redo my scene lighting, because the current lights I have set up do not match the Crypt scene and look odd as well. So I do my best to set lights which be set up in the Crypt scene.
In the scene, I have set four area lights in the scene. Three for the machine and one for the front barrels. As the image shows, for the machine and barrels, I have created shadow matt texture where the light can reflect and come through so that these objects will look real in the scene with shadows.

To set up lights for the machine, I see there are two different colors of light on the left and right sides, so I used the light temperature for each side. The light on the left side looks warmer and brighter, so I set the value of the temperature at 5500 and set the value of the exposure at 2.5.

To light on the right side, I have changed the value of the light temperature to 6500 to let it look a bit cold.

Because these two lights can not light up the whole machine and background, I set up an area light on the top, but decrease the value of the exposure like the image shows.

After I open these three lights, the machine looks much better than before and not that odd as well.

However, for the barrels, I have set an area light on the left side because I have checked the HDRI image and there is one light on the left-hand side.

So the next step is exporting the sequences into Nuke, I export the EXR file and merge all AOV as the following image shows, I have calculated the time for each frame is six minutes, so for 249 frames, it will take a whole day for rendering out, so I will use the school’s computer for randering.

